

Dining tables are an essential piece of furniture in any household. They are the gathering spot for family meals, game nights, and important conversations.
However, as time passes, even the sturdiest and most well-crafted dining tables can show signs of wear and tear. If you have an old dining table that is looking worse for wear, don’t worry!
With some elbow grease and a bit of creativity, you can restore it to its former glory. In this article, we’ll walk you through the steps to restore an old dining table.
We’ll cover everything from stripping the old finish to applying a new one, and even some tips for maintaining your newly restored table. Let’s get started!
Step by Step Guide to Restoring your Old Dining Table
Step 1: Prepare Your Workspace

Before you begin the restoration process, it’s essential to prepare your workspace properly. Choose an area that is well-ventilated and has plenty of natural light.
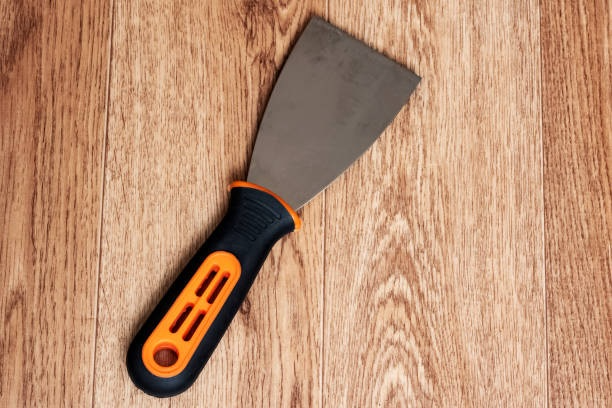
Lay down a drop cloth or plastic sheeting to protect your flooring from dust, debris, and any spills. Gather all the necessary tools and supplies, including sandpaper, wood stain, wood filler, a putty knife, a paintbrush, and a clean cloth.
You may also need a heat gun or a chemical stripper, depending on the current condition of your dining table.
Step 2: Remove the Old Finish
If your dining table has a layer of old varnish, paint, or stain, you’ll need to remove it before you can apply a new finish. There are two ways to do this: using a heat gun or using a chemical stripper.
If you choose to use a heat gun, carefully apply heat to the old finish until it begins to soften. Then, use a scraper to remove the finish.
Be careful not to apply too much heat or press too hard with the scraper, as this can damage the wood. If you choose to use a chemical stripper, follow the manufacturer’s instructions carefully.
Generally, you’ll need to apply the stripper to the old finish and wait for it to soften before scraping it off. Be sure to wear gloves and a mask, and work in a well-ventilated area.
Step 3: Sand the Table
After you’ve removed the old finish, it’s time to sand the table. Use a coarse-grit sandpaper to remove any remaining finish and to smooth out any rough spots or scratches. Then, use a finer-grit sandpaper to create a smooth and even surface.
Be sure to sand in the direction of the wood grain to avoid damaging the surface. After sanding, wipe down the table with a clean, damp cloth to remove any dust.
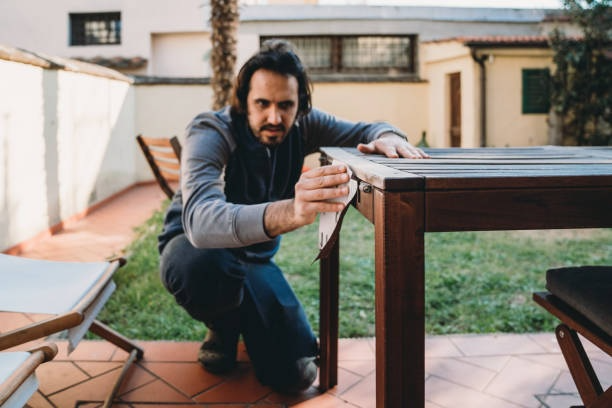
Step 4: Repair Any Damage
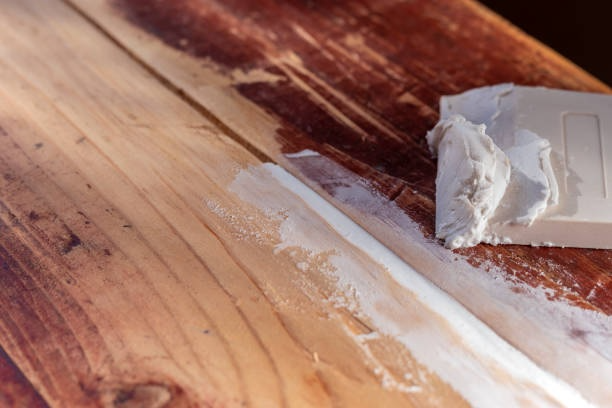
If your dining table has any scratches, dents, or other damage, now is the time to repair it. Use wood filler to fill in any holes or gaps, and a putty knife to smooth it out.
Allow the filler to dry completely, and then sand it down until it’s flush with the rest of the table.
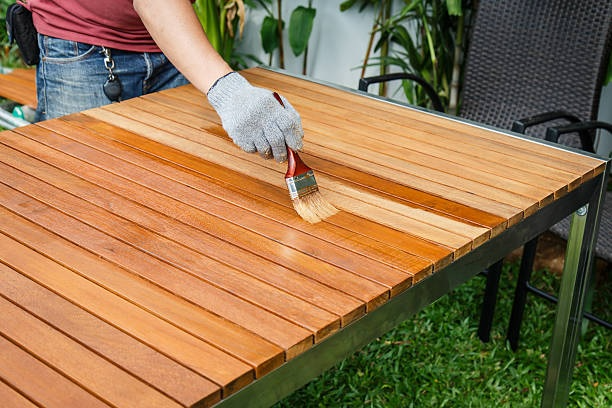
Step 5: Stain the Table
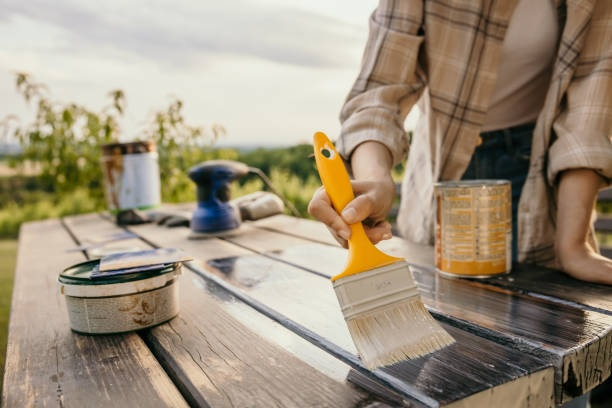
Now that the table is sanded and repaired, it’s time to apply a new finish. Wood stain is an excellent way to enhance the natural beauty of the wood and give it a fresh, new look.
Choose a stain that complements the rest of your decor and apply it with a paintbrush, following the manufacturer’s instructions.
Be sure to work in the direction of the wood grain and apply an even coat. After the first coat has dried, you may want to apply a second coat to deepen the colour.
Step 6: Apply a Protective Finish
After the stain has dried completely, it’s time to apply a protective finish to the table. A clear polyurethane or varnish will protect the wood from scratches, stains, and other damage.
Use a clean paintbrush to apply the protective finish in thin, even coats. Be sure to work in the direction of the wood grain and allow each coat to dry completely before applying the next.
Depending on the type of finish you choose, you may need to apply several coats for optimal protection.
Step 7: Maintain Your Restored Table
Now that your dining table has been restored to its former glory, it’s essential to take good care of it to ensure it stays looking great for years to come.
Here are a few tips to help you maintain your newly restored table:
- Clean up spills and stains immediately to prevent them from penetrating the protective finish.
- Use coasters and placemats to protect the table from scratches and heat damage.
- Avoid placing hot dishes directly on the table. Always use a trivet or pot holder.
- Dust the table regularly with a soft cloth to keep it looking clean and polished.
FAQs:
Can I skip the sanding step?
No, sanding is an essential step in the restoration process. It helps to remove any old finish and create a smooth surface for the new finish to adhere to.
Can I use any type of finish on my dining table?
While there are many types of finishes available, not all of them are suitable for use on a dining table. Look for a finish that is durable, heat-resistant, and easy to clean, such as polyurethane or varnish.
How long does the restoration process take?
The length of time it takes to restore a dining table depends on the current condition of the table and the extent of the restoration needed.
Generally, the process can take anywhere from a few days to a few weeks.
Summary
Restoring an old dining table may seem like a daunting task, but with the right tools and some patience, anyone can do it.
By following the steps outlined in this article, you can bring your old dining table back to life and create a beautiful and functional piece of furniture for your home.
Remember to take good care of your newly restored table to ensure it stays looking great for years to come.